PhotoRx from Patient App
This topic is intended for Independent pharmacies only and is not applicable to Rexall pharmacies.
With the Patient App program, patients or their caregivers can submit a new prescription to a pharmacy for dispensing by taking a photo of it using the app. This type of prescription is referred to as a PhotoRx. It is expected that the patient, caregiver, or agent comes to the pharmacy with the original prescription to pick up the medication. Therefore, the delivery option is not available in the app for PhotoRx prescriptions.
New prescriptions for Narcotic, Controlled and Targeted substances (NCTs) received through the PhotoRx feature should not be processed without the actual prescription. Contact the patient if an NCT was submitted and inform them that the original prescription must be brought to the pharmacy before the prescription can be processed.
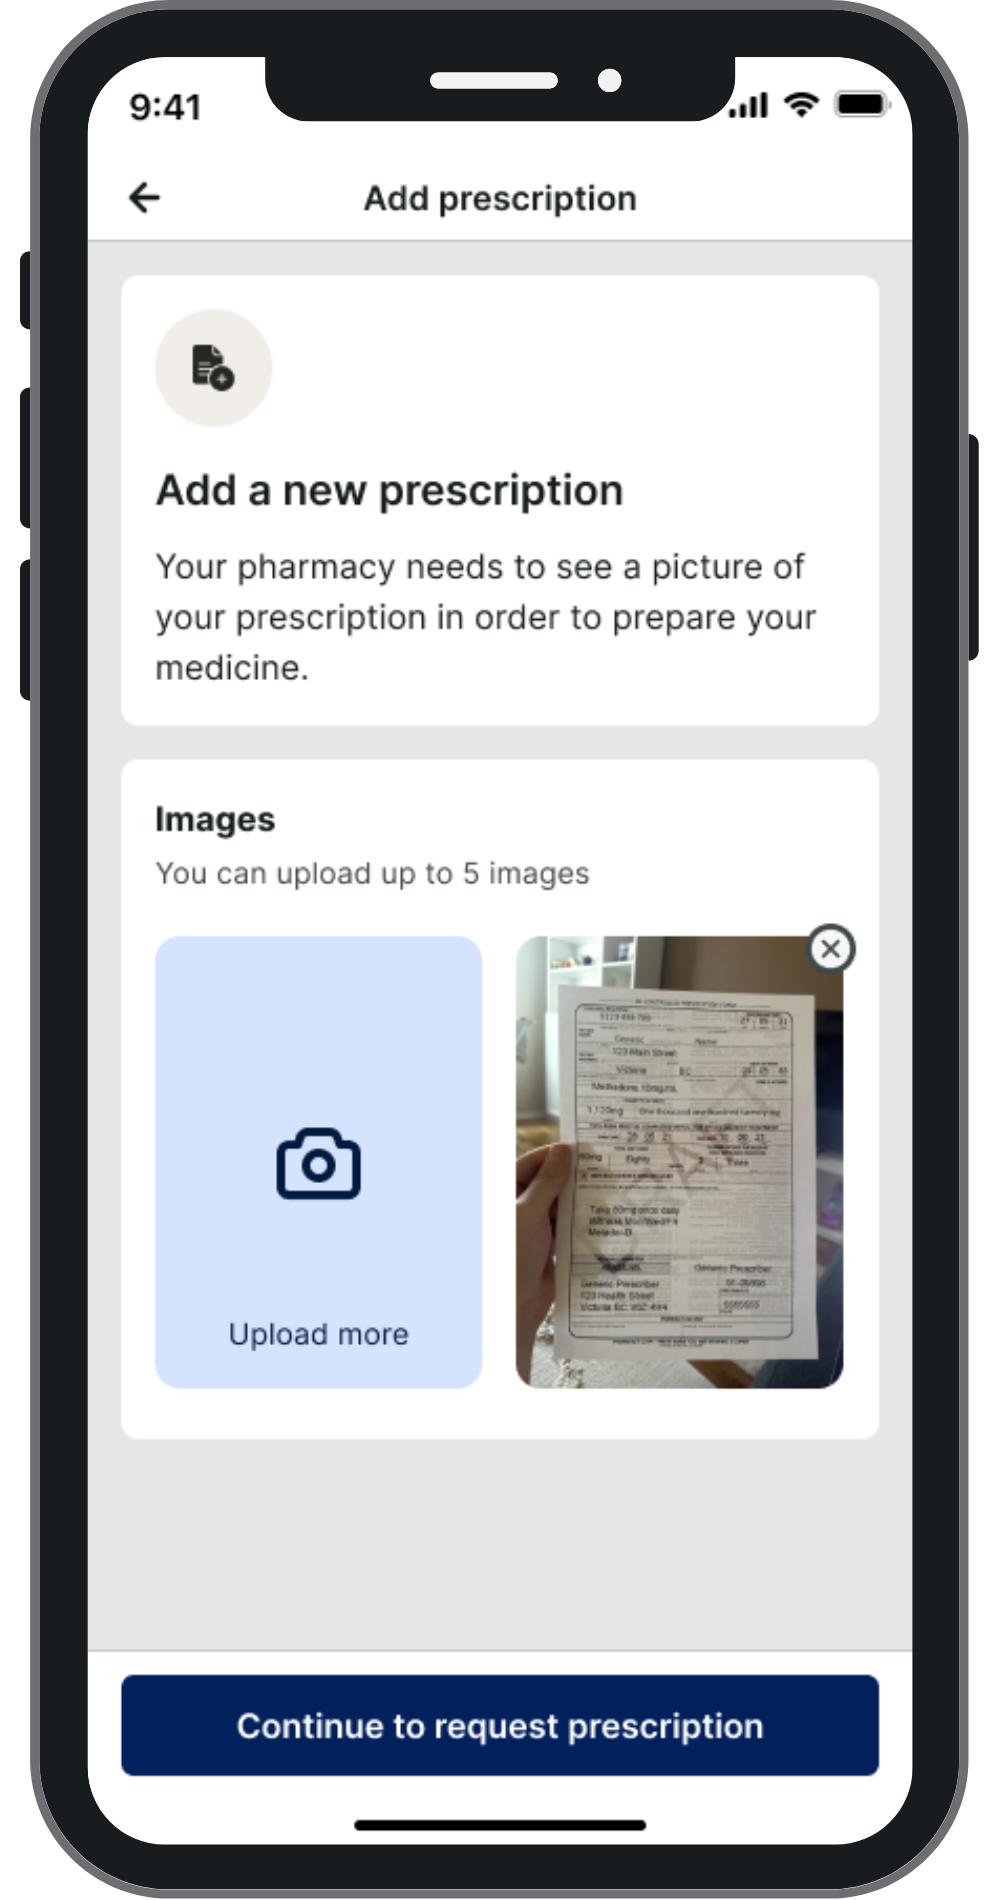
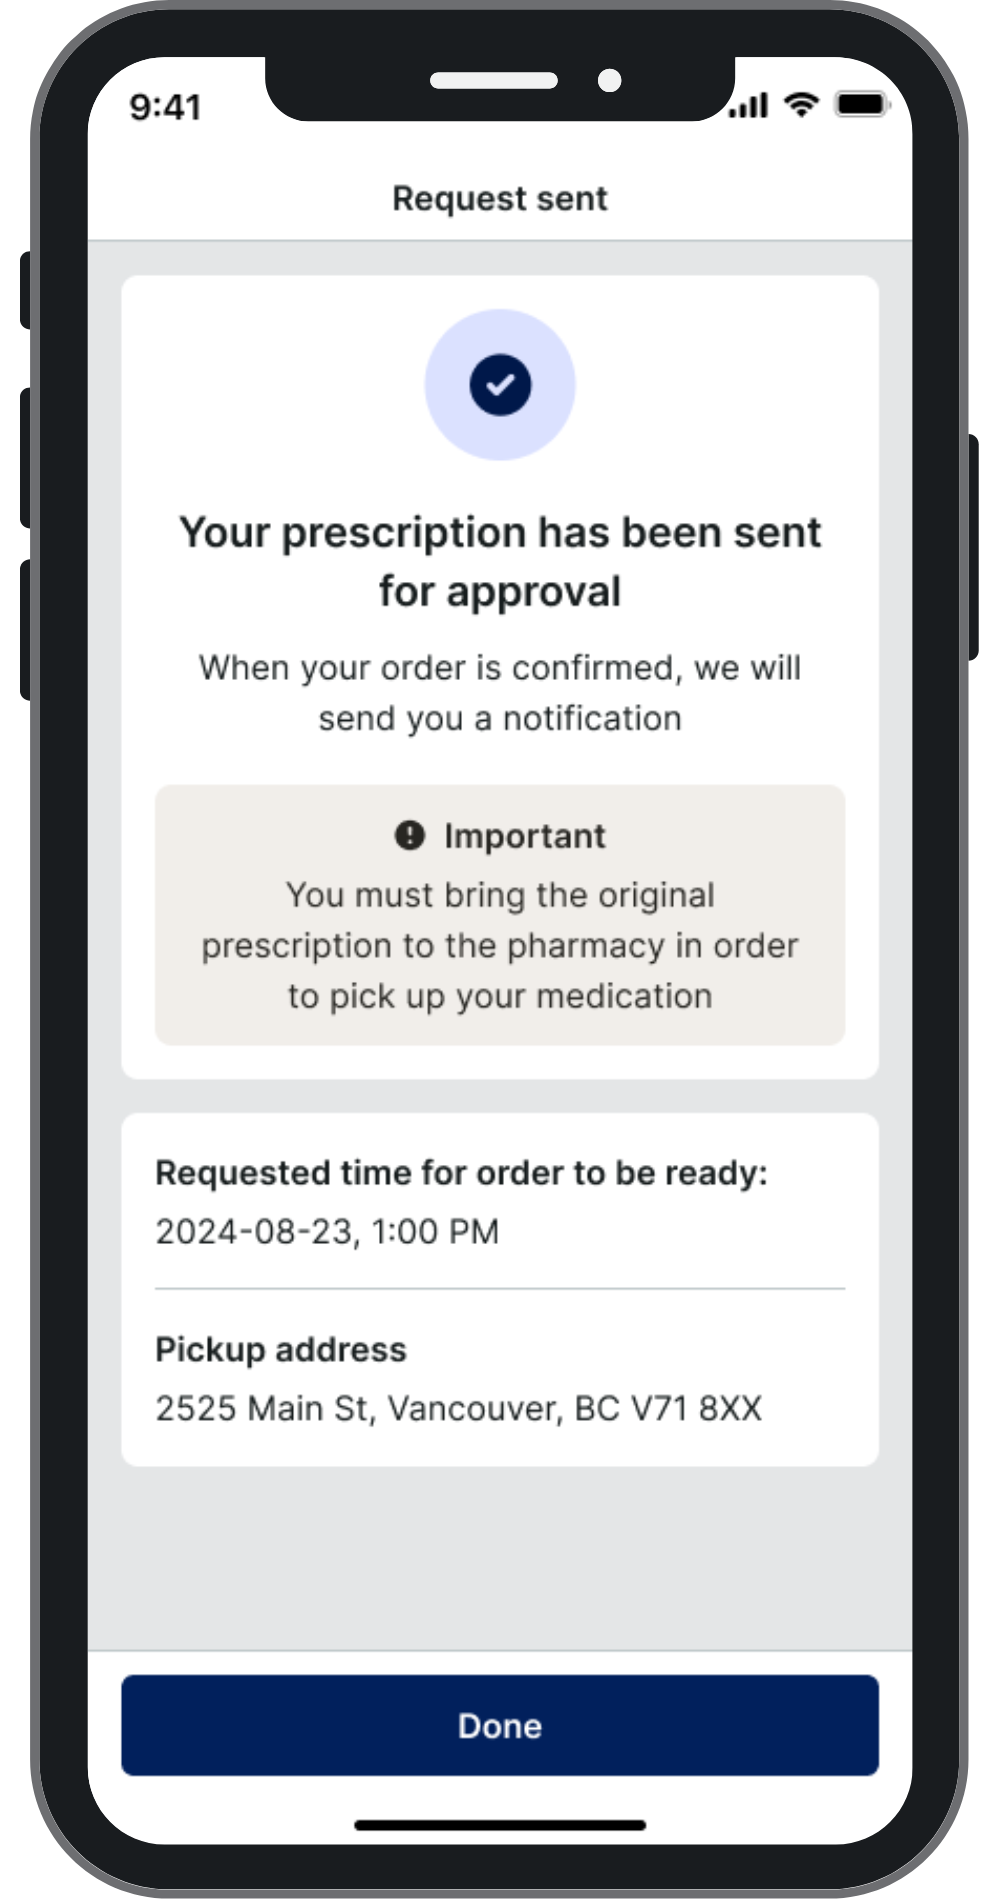
Receiving a PhotoRx
There are two ways a PhotoRx can be received depending on whether the patient is enrolled in the Patient App program in the Propel Rx Patient Folder. Select the dropdowns to learn more.
 Patient is enrolled in Propel Rx
If the patient is enrolled in the Patient App program in Propel Rx, these prescriptions appear in the Data Entry queue with a camera icon  on the day they were submitted by the patient. You can select the camera icon to view the prescription image and any notes, including special instructions they may have entered.

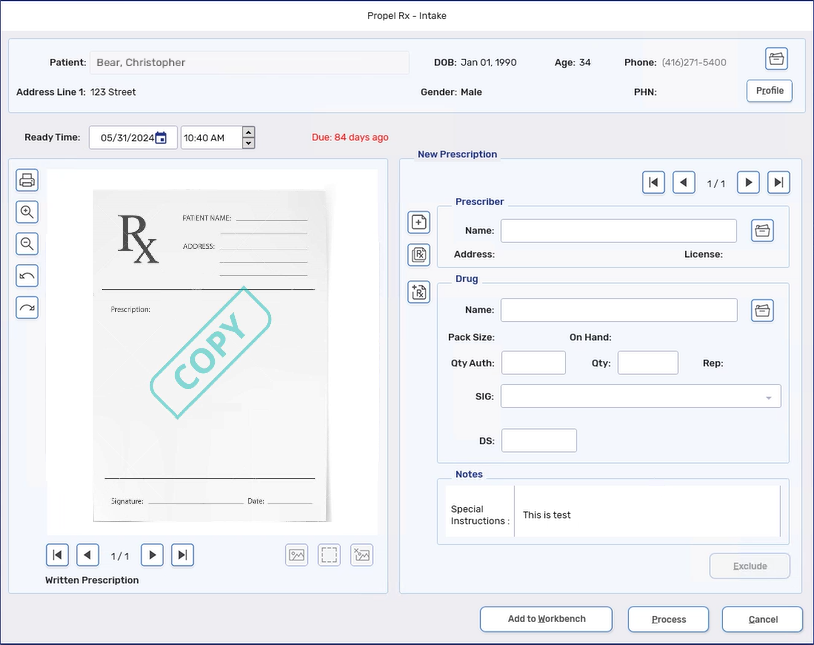
When the prescription is processed into the Intake window, you will notice the following information pre-populated from the app:
-
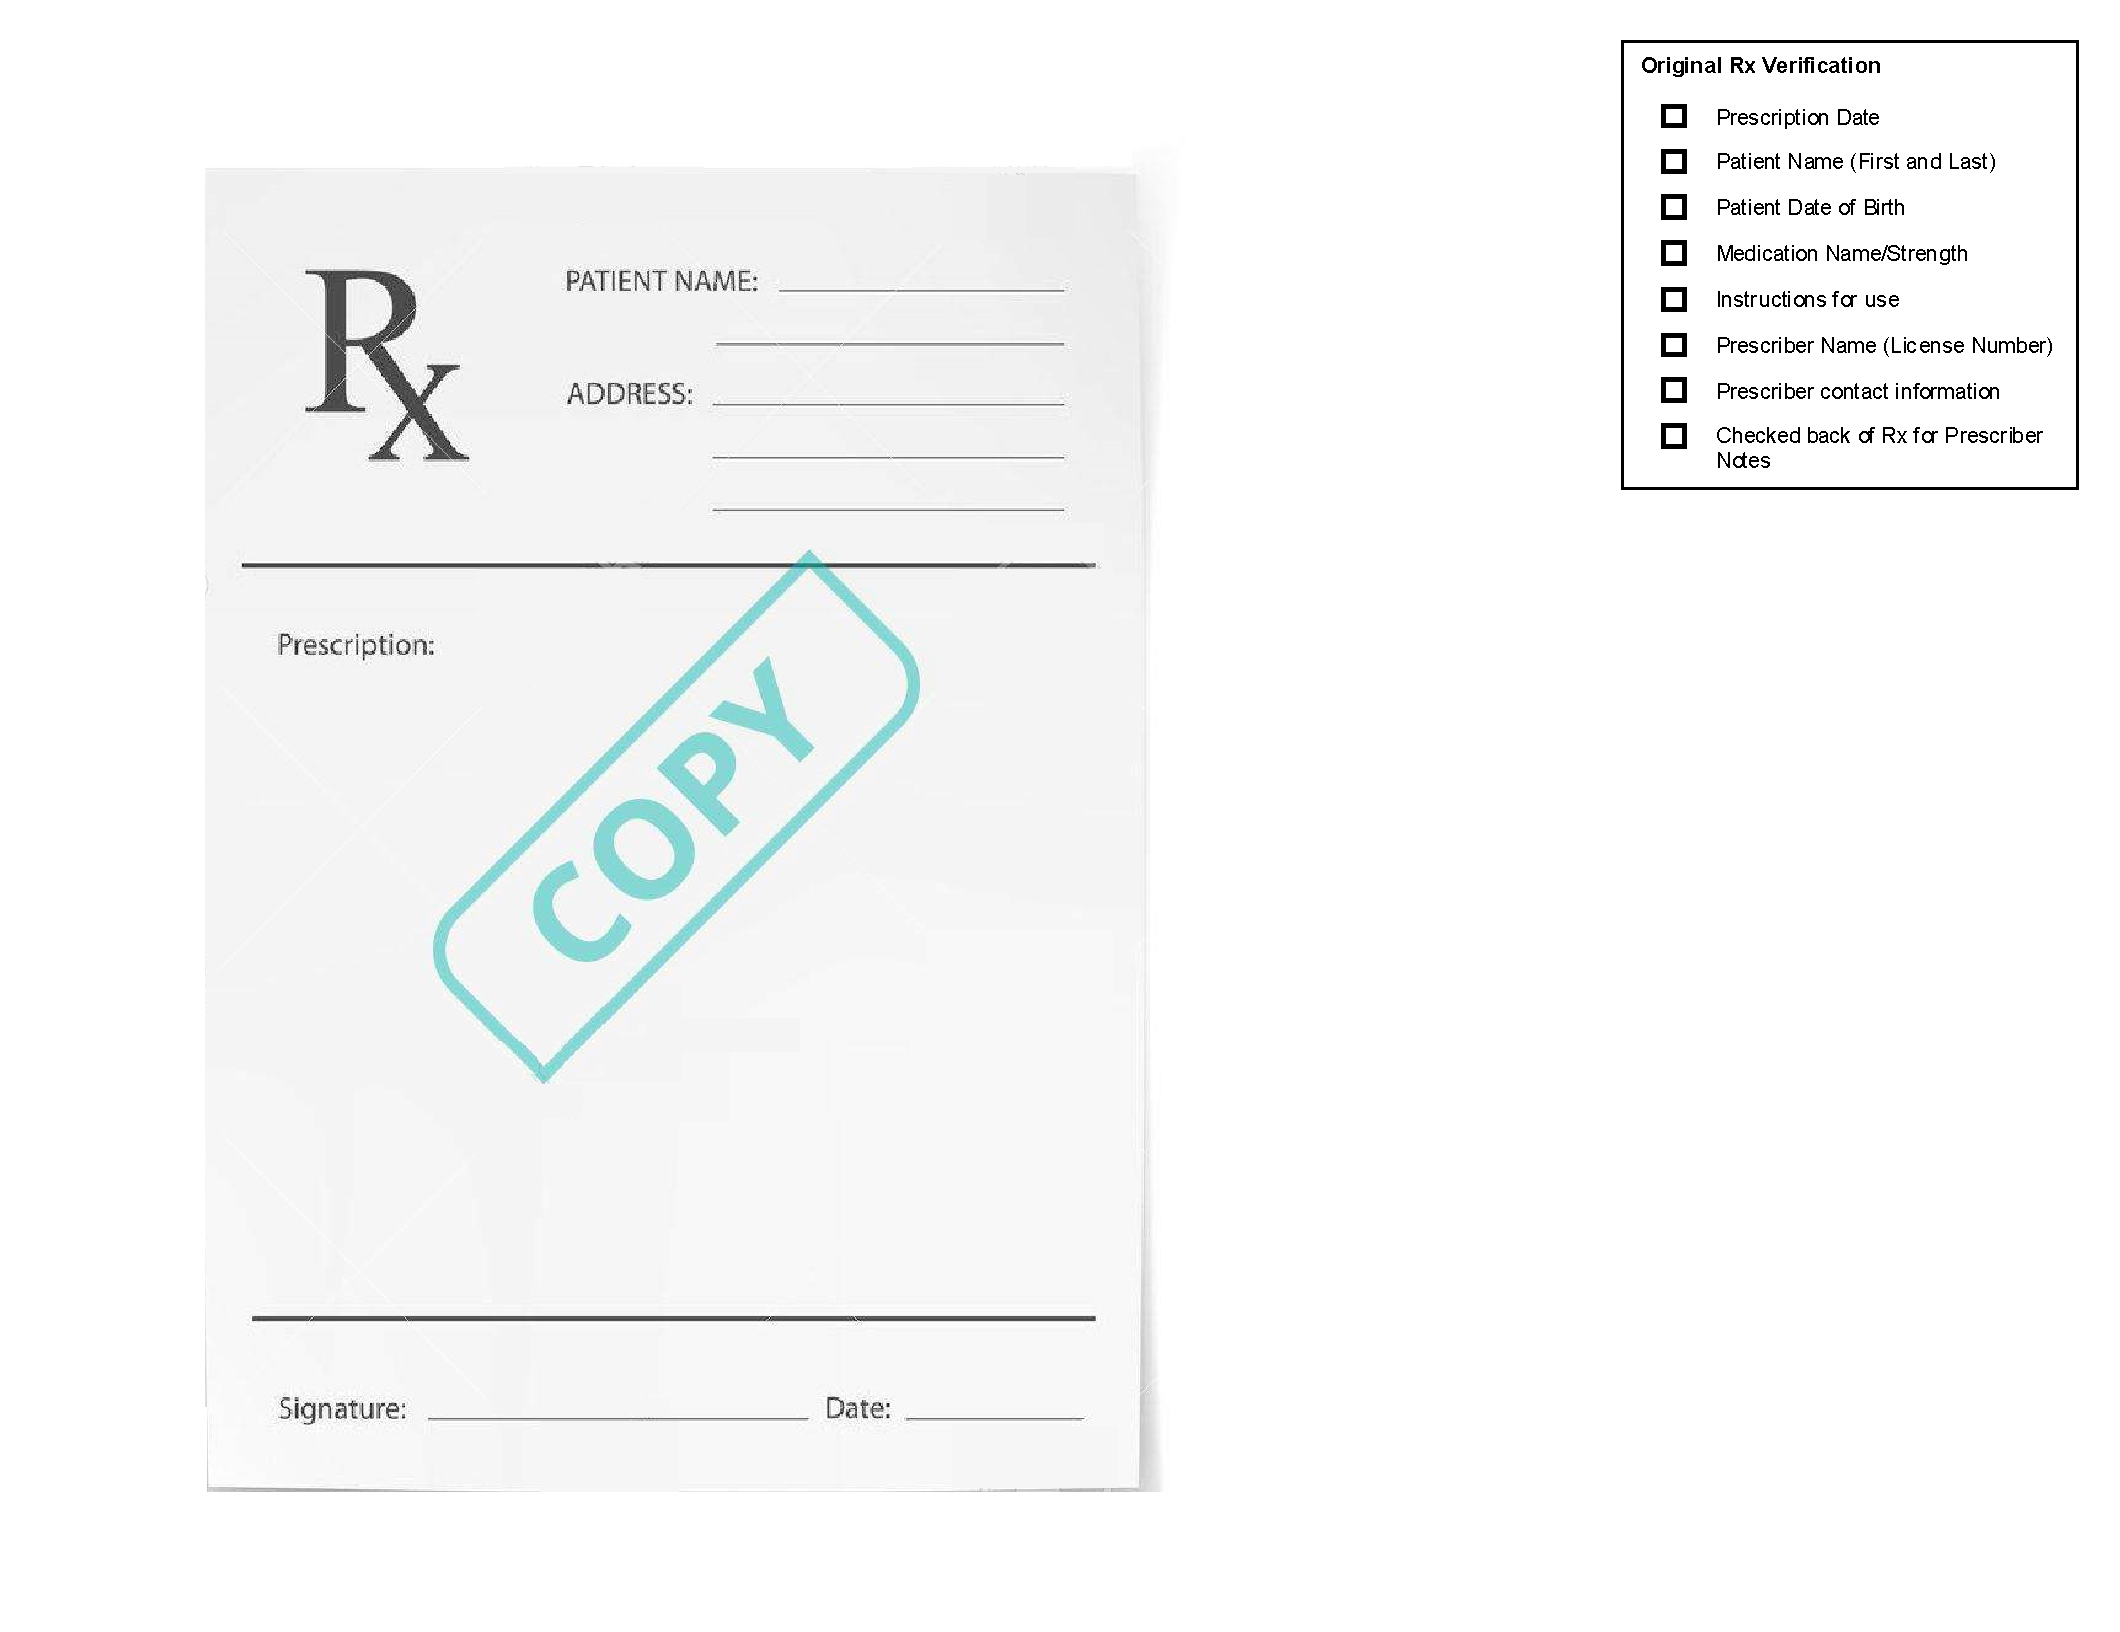
The prescription image displays on the left side of the window with a "COPY" watermark. Up to 5 images can be sent with a PhotoRx. These images are saved as an attachment with the Description, "PhotoRx Copy."
-
Any special instructions from the patient appear in the Notes section. You will be prompted with these notes when the prescription is processed into Rx Detail, and they will also saved as a prescription note.
-
The Ready Time is set to the pickup date and time that the patient chose on the app. You can change the Ready Time if desired.
In Healthera Connect, you can set your pharmacy's opening hours and pickup lead time to control what pickup times are available for selection on the app. A pickup lead time is your buffer time between when a prescription is ordered and when a patient can pick it up. For information on how to set this up in Healthera Connect, click here.
Patient is not enrolled in Propel Rx
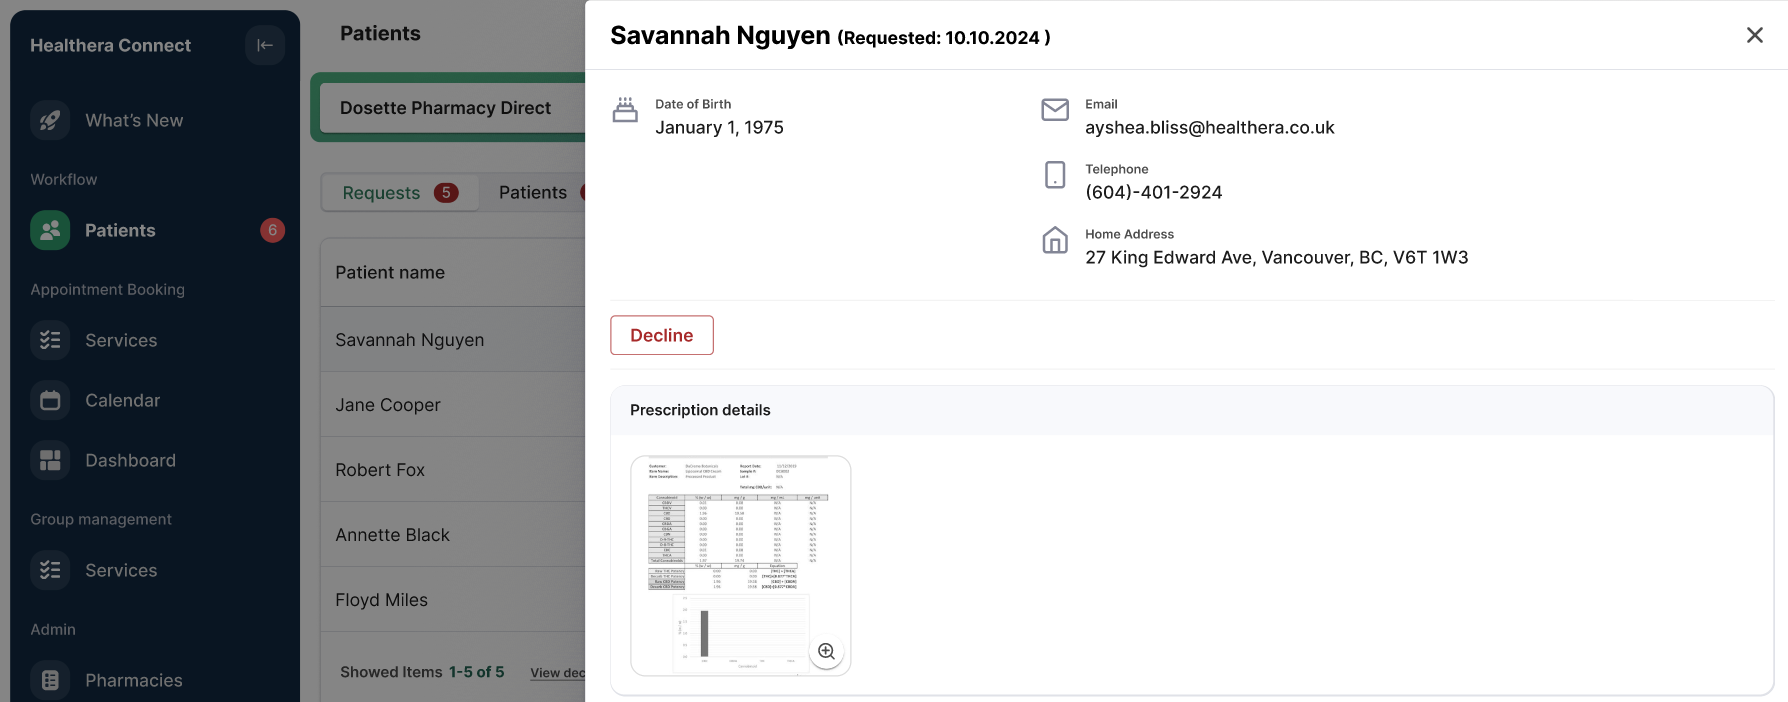
If the patient is not enrolled in the Patient App program in Propel Rx, these prescriptions appear in the Healthera Connect platform for your review. You will receive a notification via fax when a new PhotoRx lands in Healthera Connect. To process it, view or print the image from Healthera Connect and then manually enter the prescription details in Propel Rx like you would a regular paper prescription.
Ensure you enroll the patient in Propel Rx so future PhotoRx prescriptions will appear on the Workbench. For more information, see Enrolling Patients in Patient App.
Processing a PhotoRx
This section goes over how to process a PhotoRx for a patient who's enrolled in the Patient App program in Propel Rx. If a patient is NOT enrolled in Propel Rx, you must enter the prescription details from Healthera Connect manually into Propel Rx.
A PhotoRx prescription is processed like a regular prescription, however additional alerts and printouts may appear during the filling process to draw your attention to important information or serve as reminders.
To process a PhotoRx prescription:
-
From the Workbench, ensure the Data Entry queue is selected.
-
Select the PhotoRx.
PhotoRx prescriptions must be processed separately from other prescription types on the Workbench.
-
Select Process. The prescription opens in the Intake window.
-
Enter the prescription details using the image as a guide. If multiple prescriptions were submitted from one photo, enter each drug in the Drug field separated by a forward slash (/).
-
Select Process to open the prescription in Rx Detail. Once the prescription enters Rx Detail, the status of the prescription on the app will change to In Progress.
-
If any special instructions were entered by the patient, a prompt appears. Select OK.
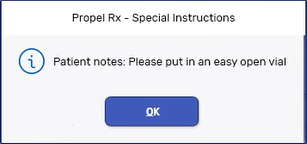
These instructions will also appear in the Alerts section at the bottom of Rx Detail.
-
Select Fill. The prescription image(s) from the app prints with a verification checklist at the top right corner. Use this checklist to validate the patient and prescription information entered in Propel Rx against the original prescription that the patient brings in.
You can reprint the prescription image with the checklist from the Attachments button
 in Rx Detail or from Rx > Review.
 -
If Digital Workflow is enabled, complete the remaining Workflow steps for the prescription.
-
Scan the original prescription and the image printout with the verification checklist to the prescription. Once Workflow is complete, the status of the prescription will change to Ready for Pickup on the app.
Returning a PhotoRx to the Workbench
If you decide not to fill a PhotoRx after seeing the patient's requested pickup date, you can proceed as follows:
-
If the prescription is open in the Intake window, select Add to Workbench. This places the prescription back on the Workbench on the day the request was received.
-
If the prescription is open in Rx Detail, select Close to return it to the Workbench or Park to place it in the Parked Rx tile. For Parked prescriptions, you can select a Parked Until date which is when the prescription will return to the Workbench.
Selecting Escape in Rx Detail will remove the PhotoRx from the Workbench. Do not Escape unless you want to remove the prescription!